14 May Activities for the kids! Sgraffito and pom poms
Now that we are at Level 2 this is the last weekend before our bubbles are really burst and children return to school on Monday. You might like to try out these fun activities over the weekend.
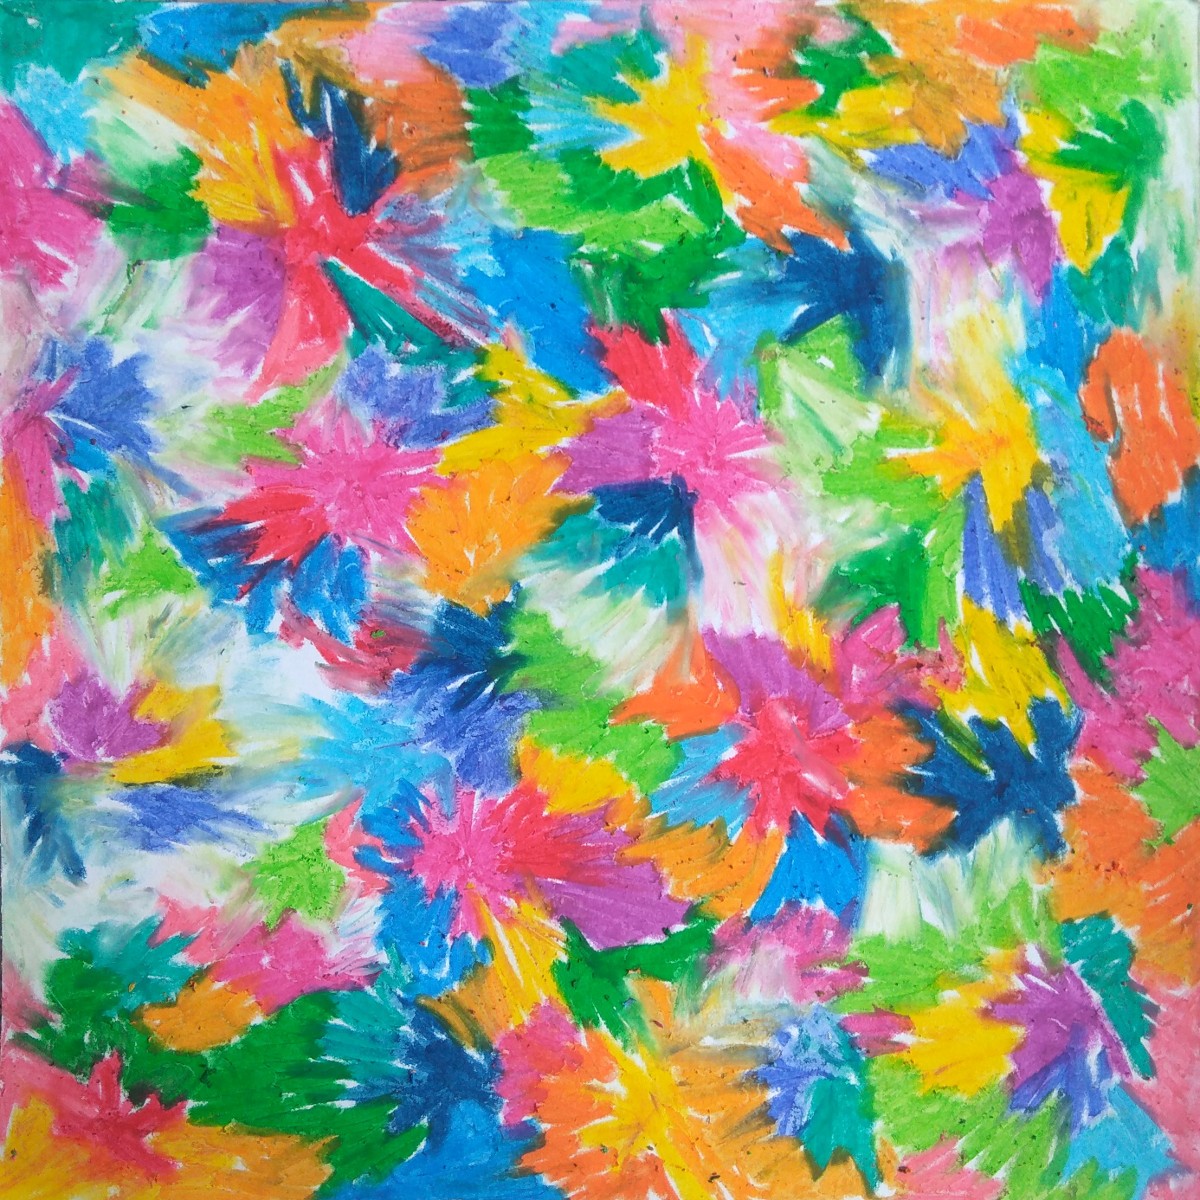
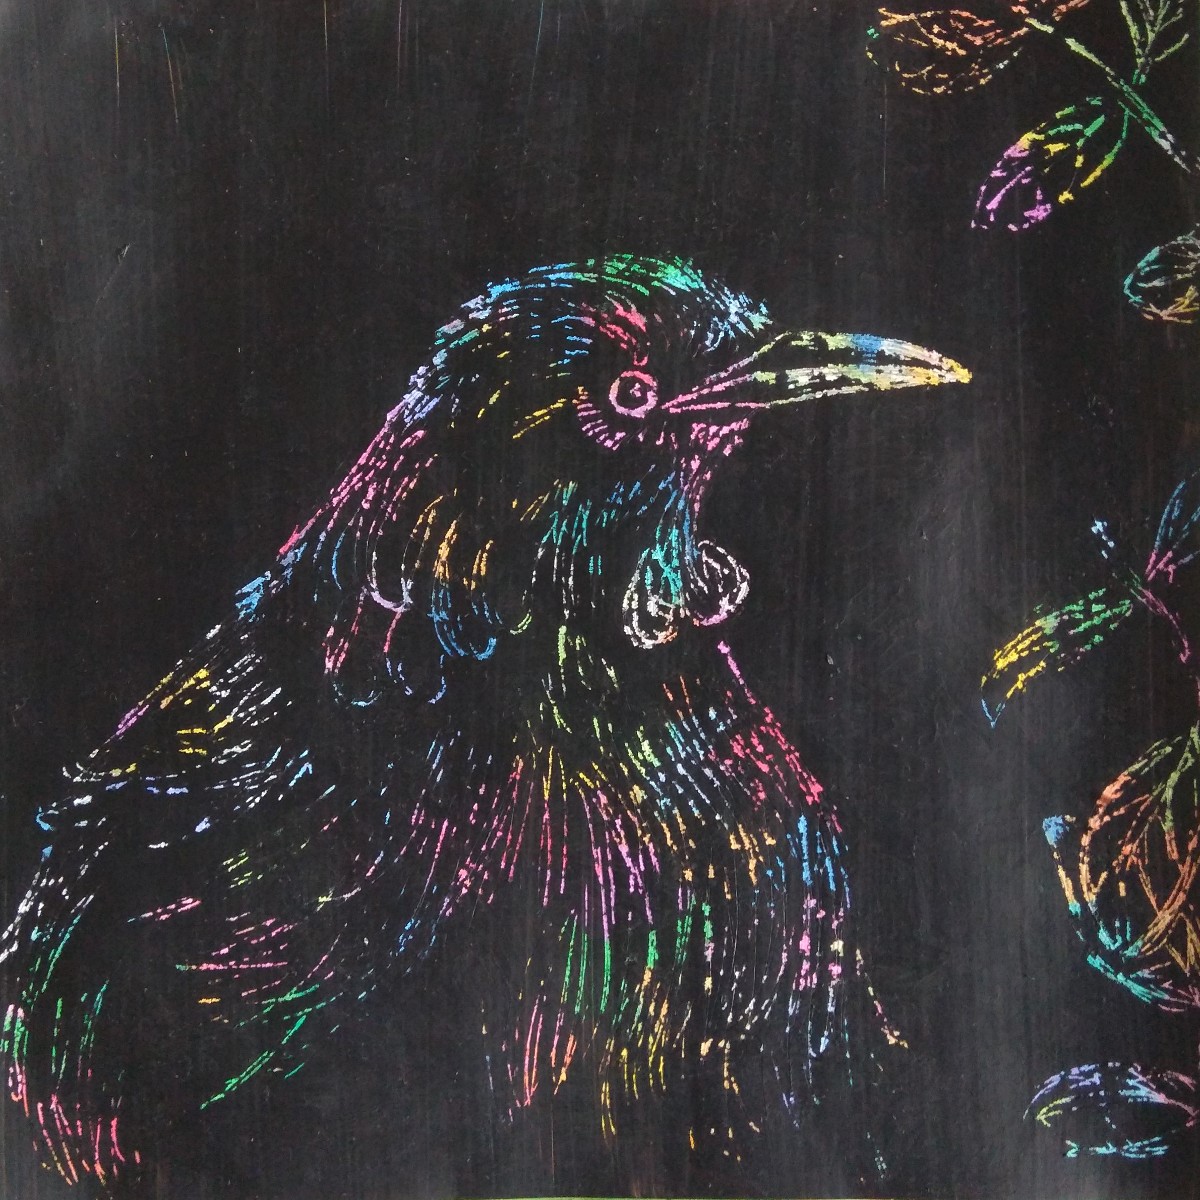
Sgraffito (scratch art)
Sgraffito or scratch art is easy and fun, all you need is paper, pastels (crayons could work too) black acrylic paint and a tooth pick or nail to scratch with.
First cover the paper with coloured pastel, you can do this with lines, shapes or blobs of colour. You can use as many colours as you like. Once you have covered all of the paper with pastel you need to paint over it with black paint and let it dry. When it’s dry you can use a tooth pick or a nail to gently scratch through the paint to reveal the different colours underneath (make sure you put something underneath your paper so you don’t scratch the table, we don’t want grumpy grown-ups on our last weekend before you go back to school).


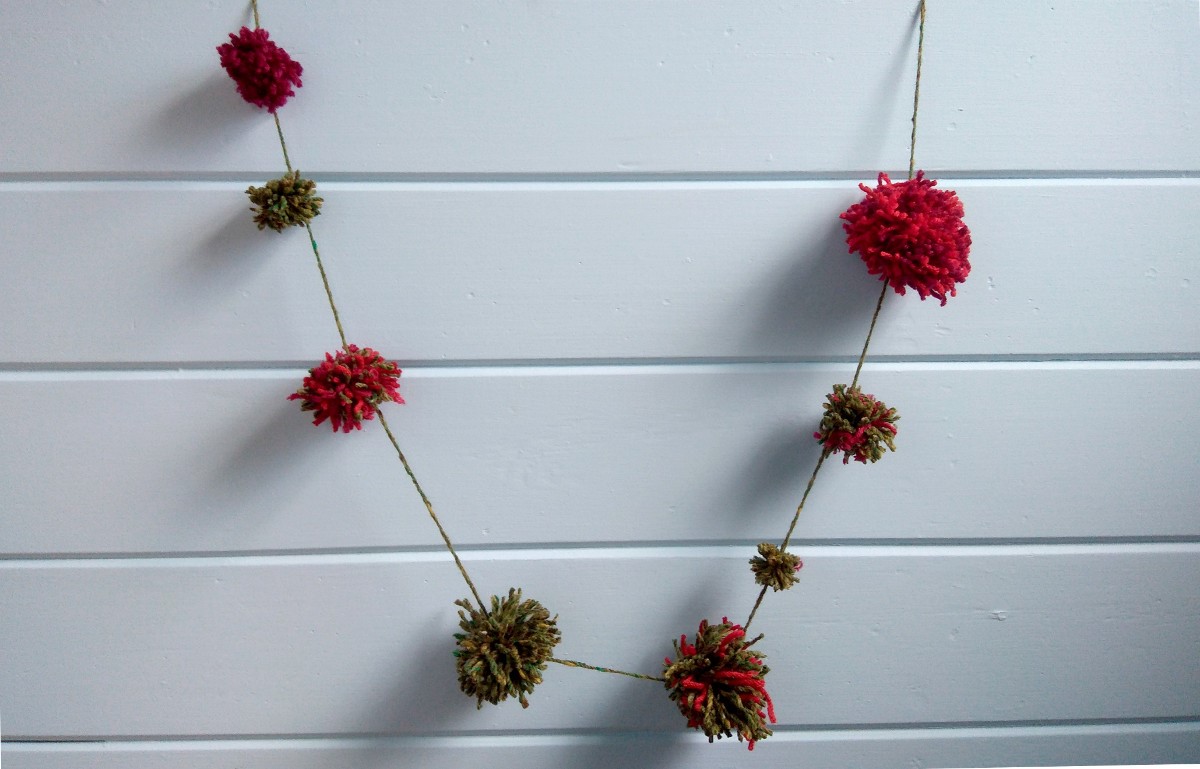
Pom Poms
Pom poms are great fun to make and you can use them to put on your winter hat, you can hang them up or you could turn them into bunting.
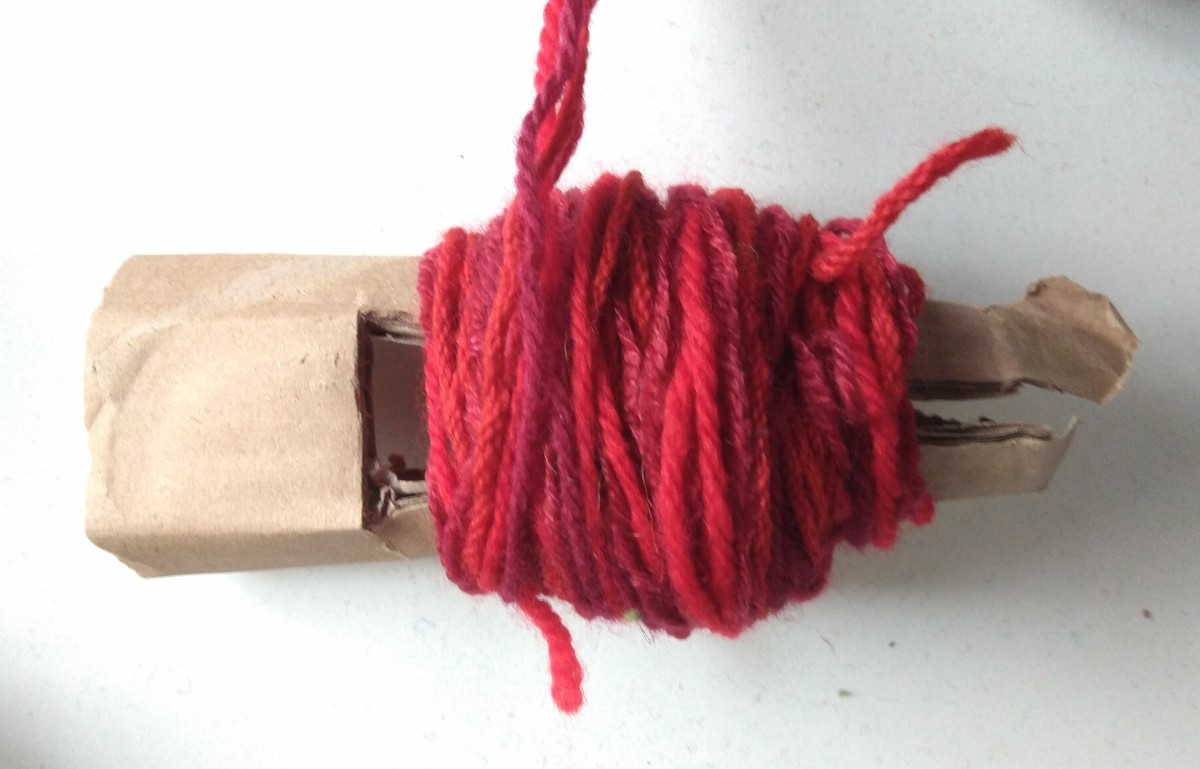
1. You will need a small piece of cardboard (just use a piece from your recycling) and cut it into a long ‘c’ or an ‘n’ shape.
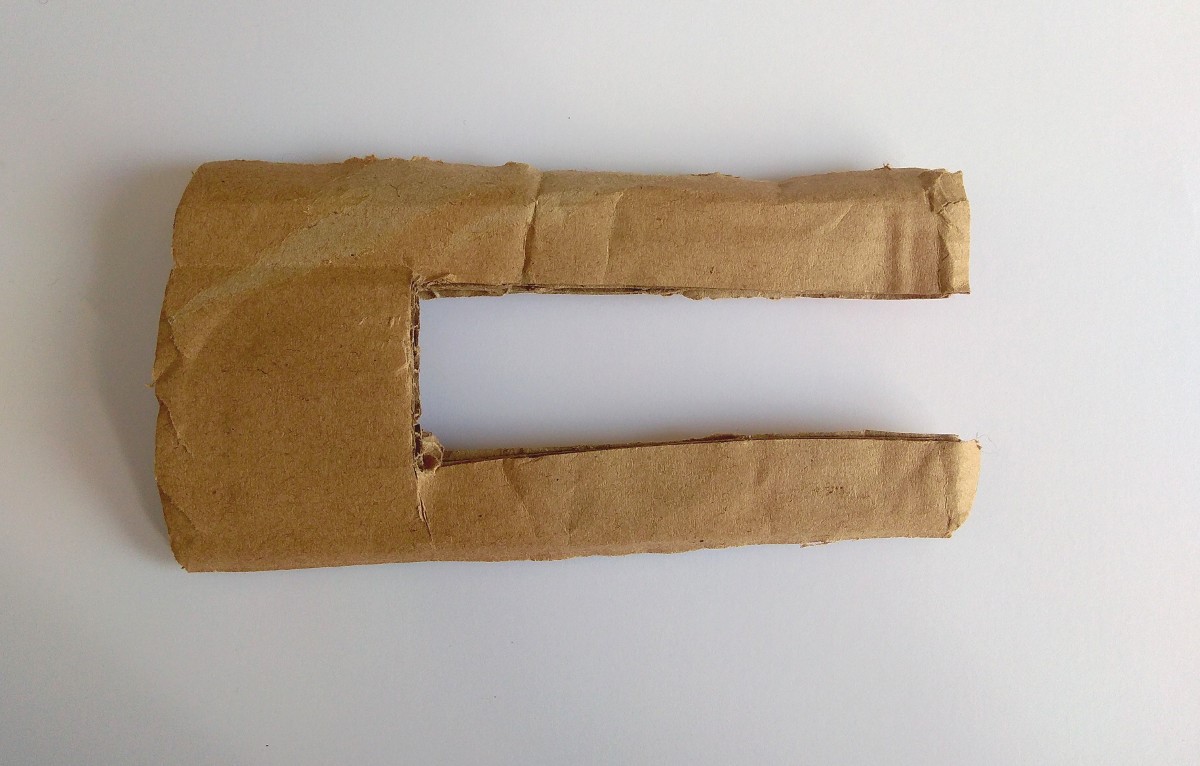
2. Find some wool, you can use different colours and left over pieces work really well too.
Wrap the wool loosely around the open-ended part of the cardboard (don’t do it tight as the open part will come together).
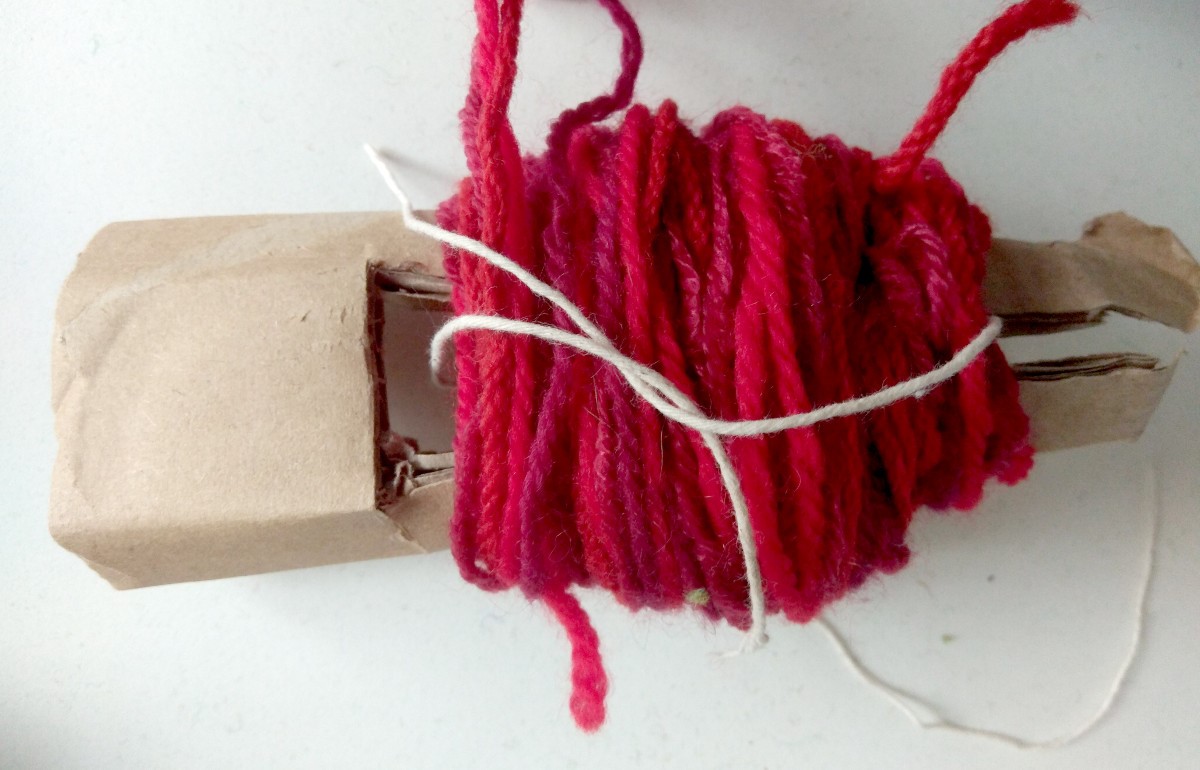
3. Once you have a good amount of wool wrapped around the cardboard use a piece of string or wool (just make sure it’s strong) and wrap it around the middle of the wrapped wool, pull tight and tie a knot.
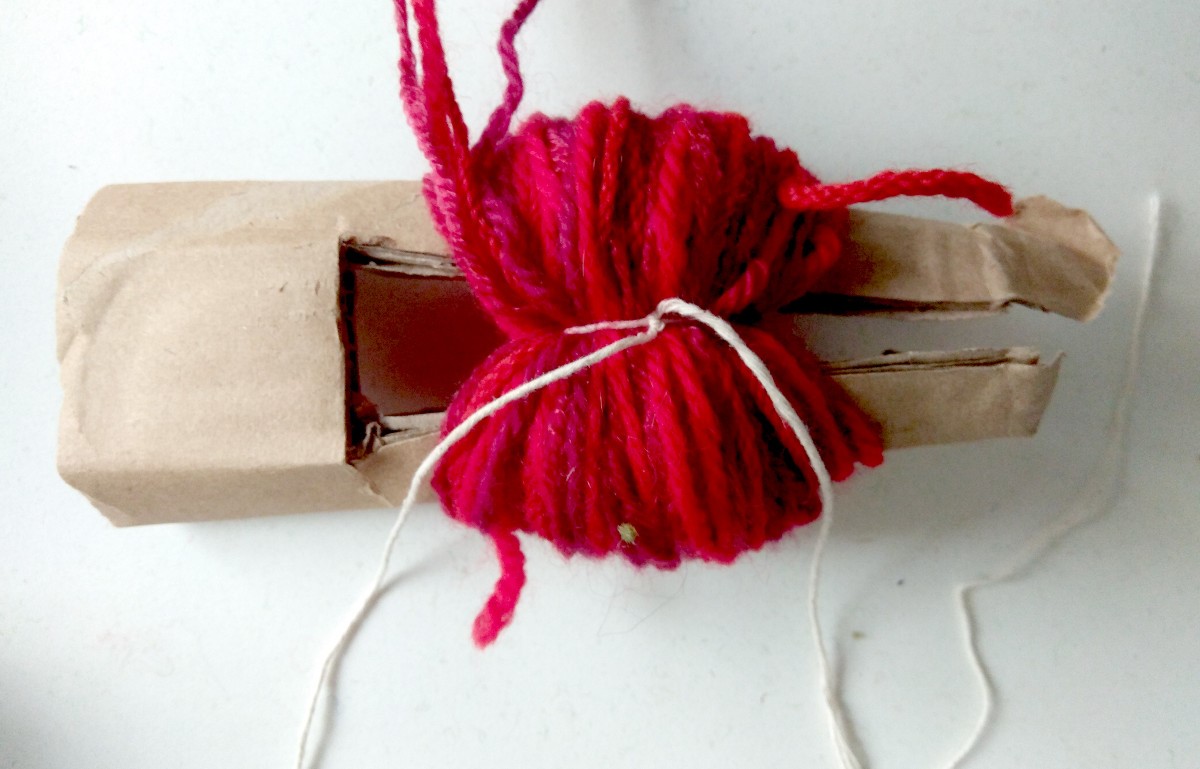
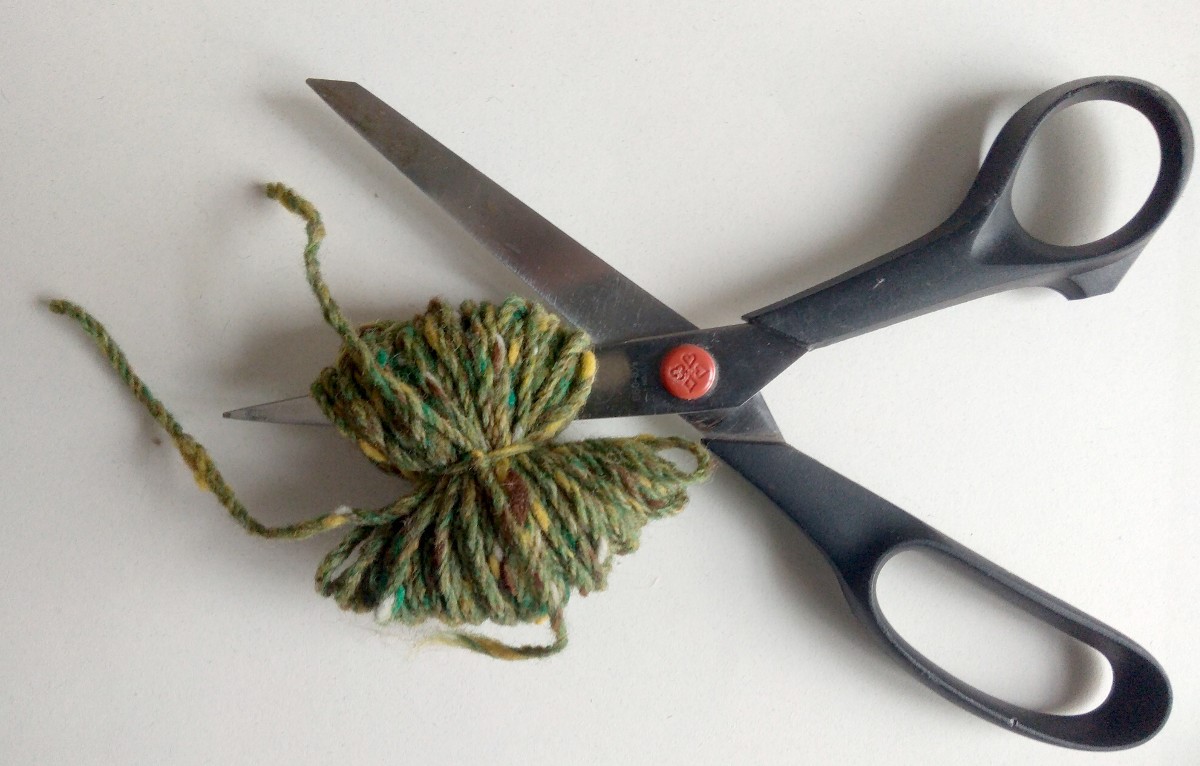
4. Carefully slip the wool off the cardboard and slide the scissors into the loops of wool where the cardboard was and cut all the loops, you might have to do it in little groups if you have used a lot of wool. Do this on both sides, then fluff your pompom by spreading out the strings of wool and if you have any long bits of wool sticking out just trim them a little to match the rest.
Repeat the steps to make lots of pompoms, if you want to make different sized pompoms use different sized cardboard ‘c’s’, smaller ones give you smaller pompoms.
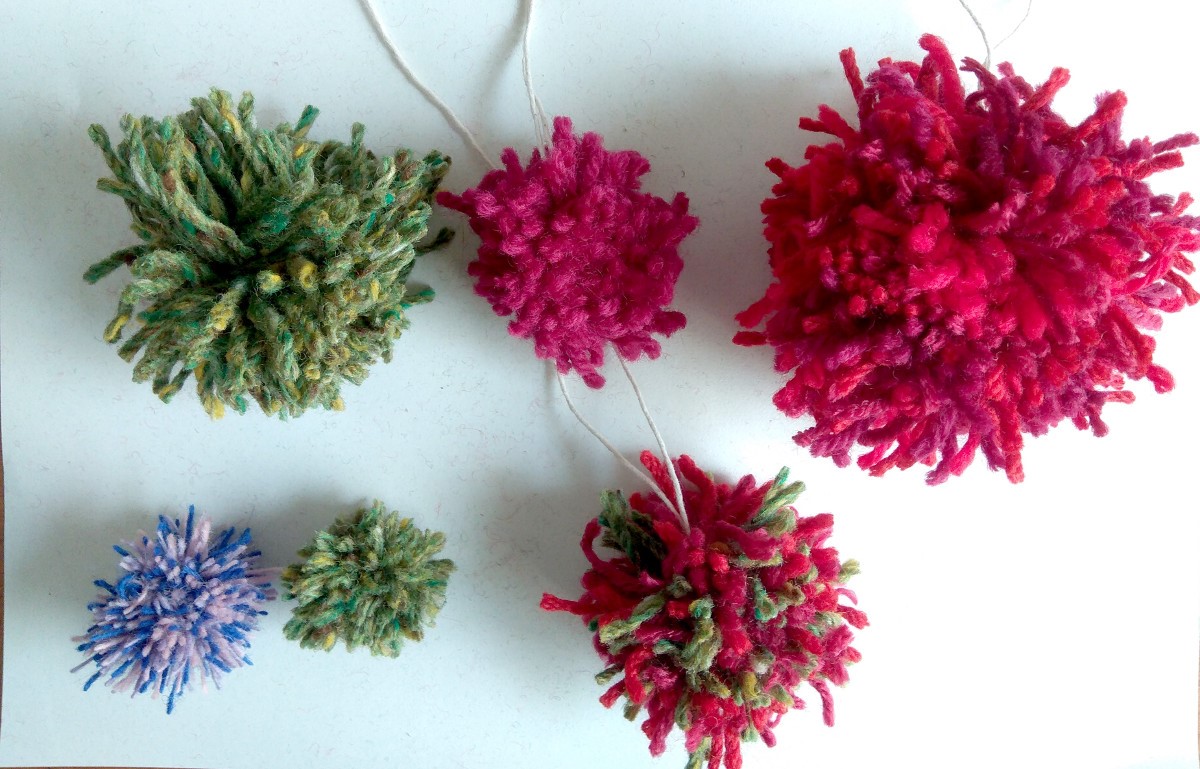
5. Once they are done you can attach your pompom onto a hat or thread them on a string and hang them up, or you could use one on its own as a soft little ball.